Motion capture may require realigning from it’s original capture position for a number of reasons; for instance the data may require aligning with the environment or to make it more compatible with a game engine or crowd simulation. There are a couple of different ways to realign a character in MotionBuilder: One uses the often over looked “Move Keys” tool and the other uses the Story tool. Using the Move Keys can be a quick and simple way to reposition a character in a scene while the Story Tool can give much more accurate control, especially when aligning a characters with a specific axis.
Using Move Keys
- Open the file to be re-aligned. This file can contain single or multiple characters which require realigning.
- Select the root of the character. This is the top node of the skeleton hierarchy, usually the hips. You can check by simply moving the object. If the rest of the skeleton moves with it you have the correct joint.
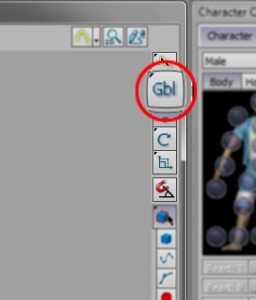
- Set the Translation and Rotation to GLOBAL space. This can be set via the Reference Mode menu in the Viewer toolbar on the right of the Viewer window or by pressing (F6).
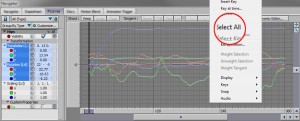
- Select the Translation and Rotation Curves. In the FCurves window frame all the keys (press (A) with your pointer over the FCurve window.) Highlight the Translation and Rotation channel filters in the Properties pain on the left side of the FCurves window. Right click in the FCurve window and choose “Select All” from the pop-up menu.
- Reposition the character. With the root of your character still selected move it to the correct position in the scene or type in zero values for the X,Y,Z Rotations and the X and Z Translations. (DO NOT change the Y value or your character will drop below the ground)
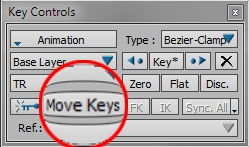
- Click Move Keys. In the Key Controls window click Move Keys. MotionBuilder will alter the value of the Translation and Rotation curves so your character will be repositioned to the new location in the scene.
Using The Story Tool.
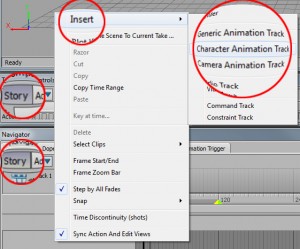
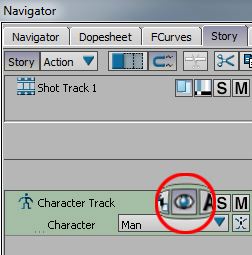
- Create a Character Animation Track.With Story turned on right click in the Story tool and select Insert Character Animation track or select the entire skeleton (Space-Bar RMB the top of the skeleton hierarchy) and Alt+LMB drag it in to the Story window.
- Insert Take. If you have the take that requires realigning loaded you can Right-Click in the Story clips window and Insert Current Take from the popup menu. Alternatively you can drag a file from a Favorite Path in the Asset Browser window directly in to the Story Tool.
- Turn on Ghosts. In Story window select the clip you have just inserted and turn on Show/Hide Ghosts (use X-Ray mode if you can’t see the clip trajectory). This will allow you to manipulate the position of the clip and see the gross motion of your character during the clip. The gross motion is displayed as a line under your character which represents the start and end position of your character in the clip.
- Reposition character. To centre your character in the scene, switch to Global Reference mode (F6) and type in zero values for the Translation and Rotation of the clip or use the manipulators to reposition the clip to desired location. You can reposition the entire clip this way or use the razor tool to cut the clip and reposition individual sections.
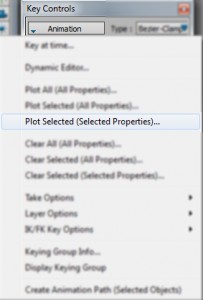
- Plot animation. I usually avoid using the plot in the Story tool as this will add a keyframe to everything in the scene. Select the objects you want to plot animation on to and in the Key Controls window set the Keying Mode to TR and then use Animation>Plot Selected (Selected Properties). This allows you specify what channels on the selected objects are plotted.
- Set Plot Options and plot. Set the options you require for your particular project in the Plot Options dialogue box and press Plot. Turn off Story. Once you have plotted all the joints and characters in to their new positions turn off Story. If you have been successful the character will remain in it’s new position.
Leave a Reply